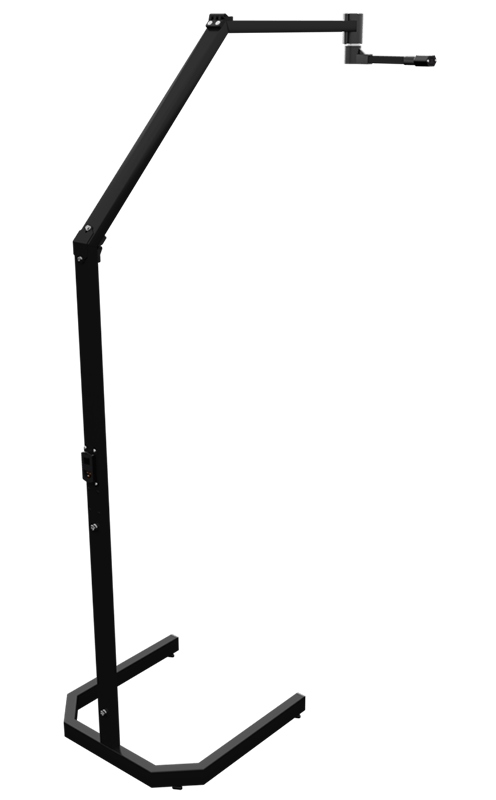
¶ Assembling the Rotation Boom
The Rotation Boom arrives in its own box and you need to assemble it before use but do not worry! It is quite fast to assemble it.
¶ Assembling basics
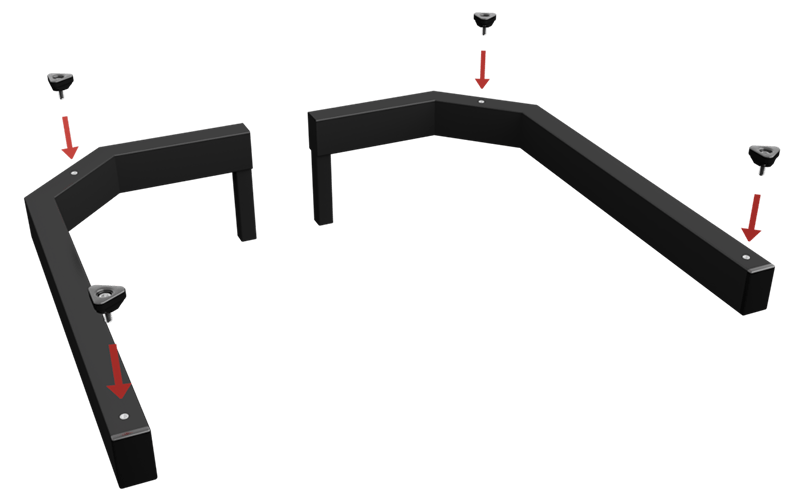
- Start with screwing on the 4 feet on the foot frame. There metal rivet inserts in the frame for easy installation.
We always recommend you to have something under the rotation boom and the simulator if you wish to protect your floor. Both the Boom and the RC4 can make marks in the floor due to the forces applied under operation.
-
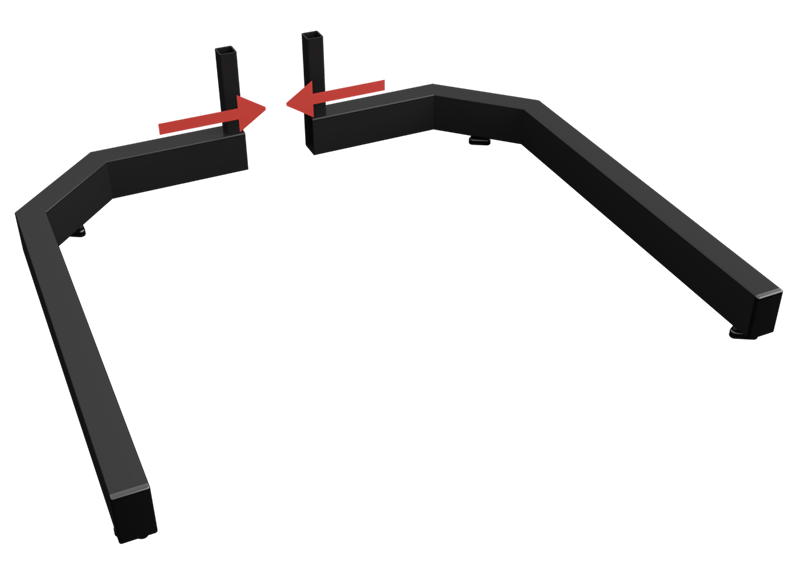
Place the two feet frames on the floor and slide them together.
-
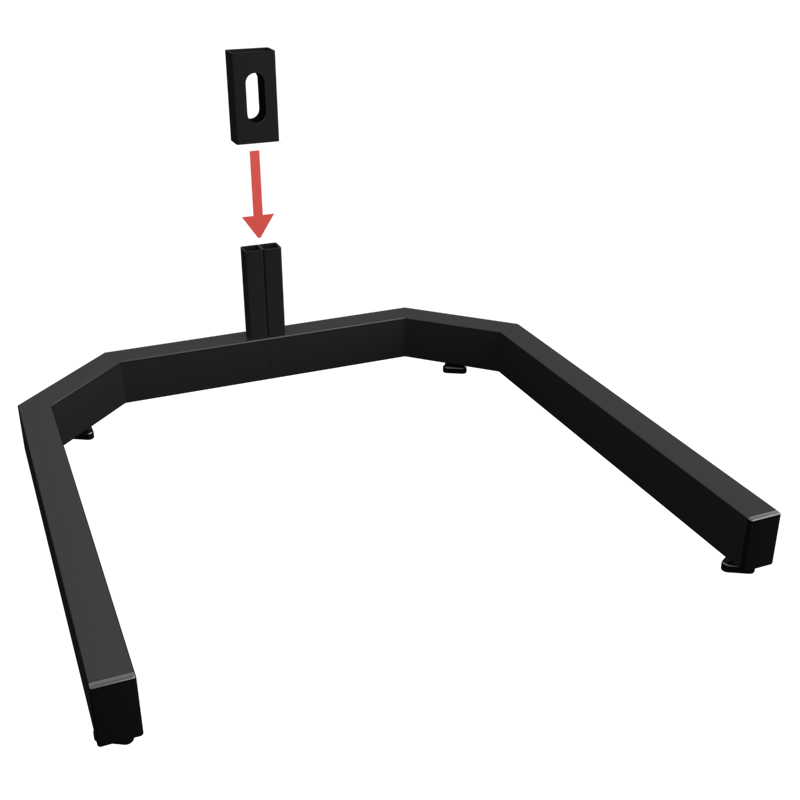
Add the bracket as shown below to keep them together.
-
Slide the middle frame onto the feet frames and the bracket.
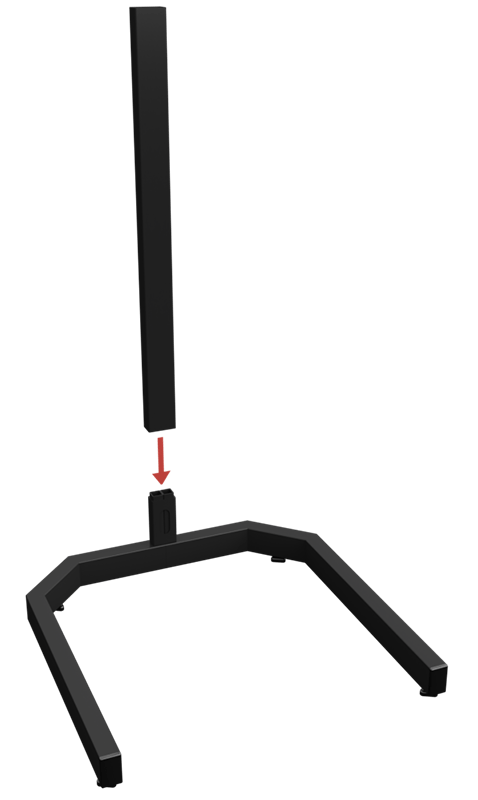
-
Fasten the lower
P02bolt as shown.
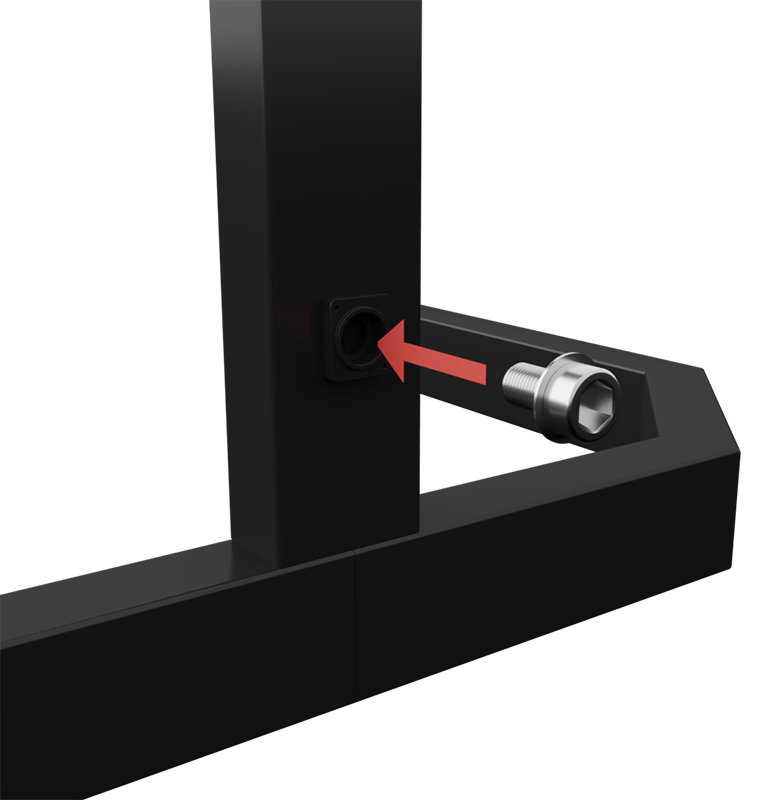
Now you need to unfold the upper part of the Boom. We recommend you to place it sideways on the floor as you need to ad a few bolts.
WARNING. Make sure the cables are not getting pinched where the hinges are. Unfold it slowly and make sure the cable gets inside the steel tube.
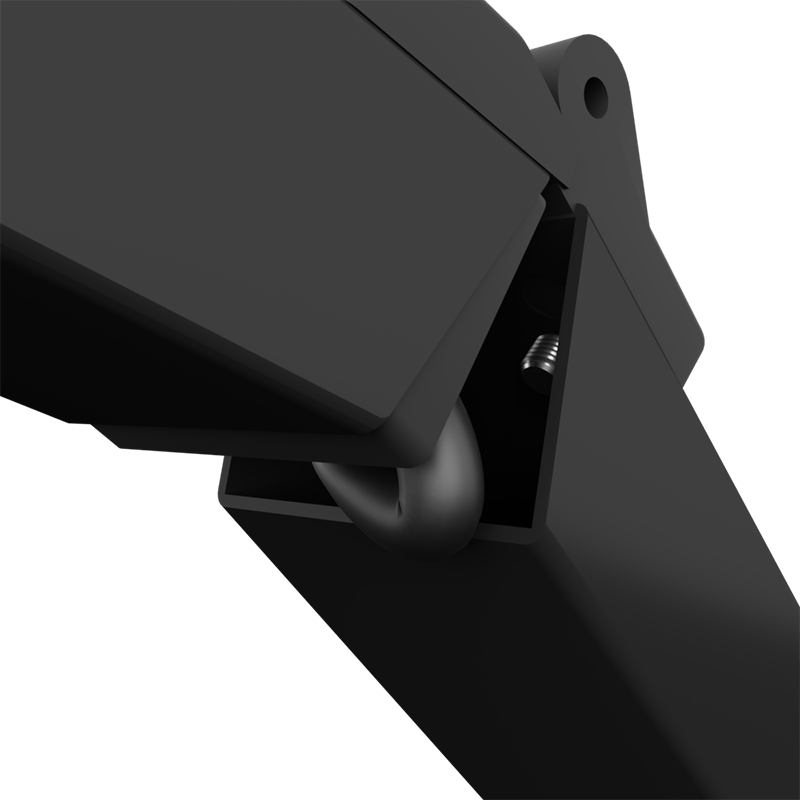
-
Unfold the boom as shown below.
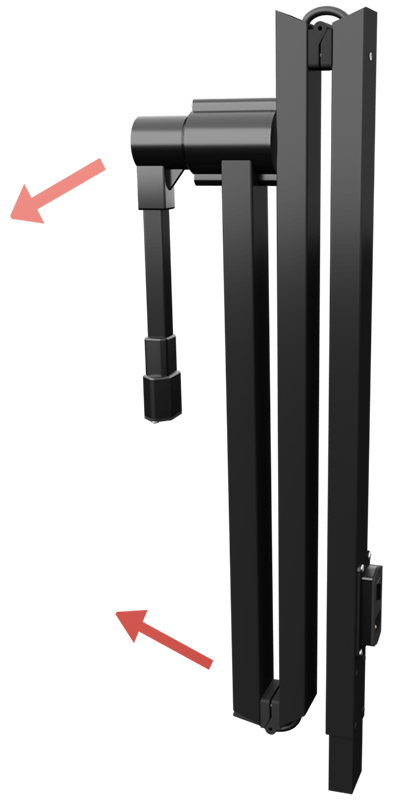
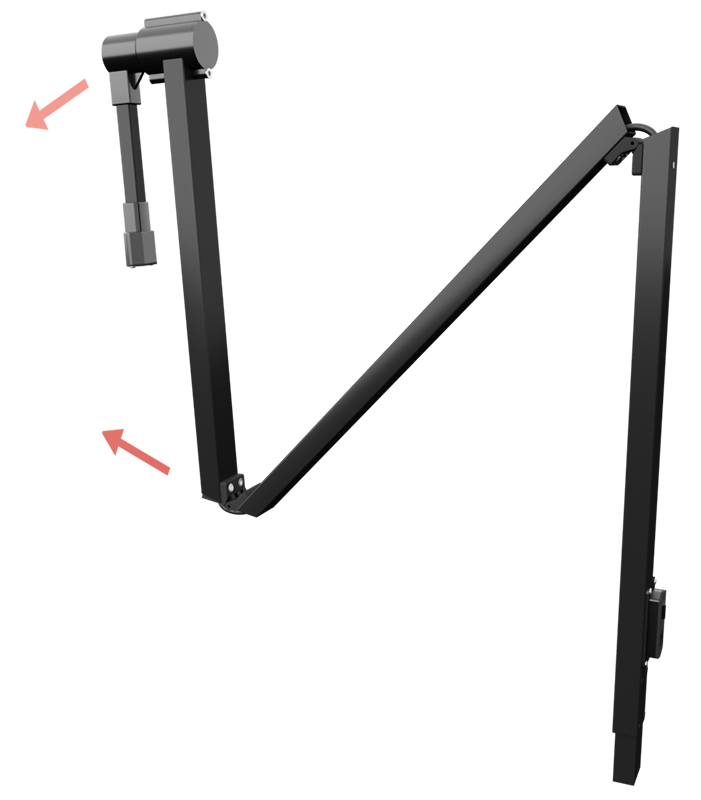
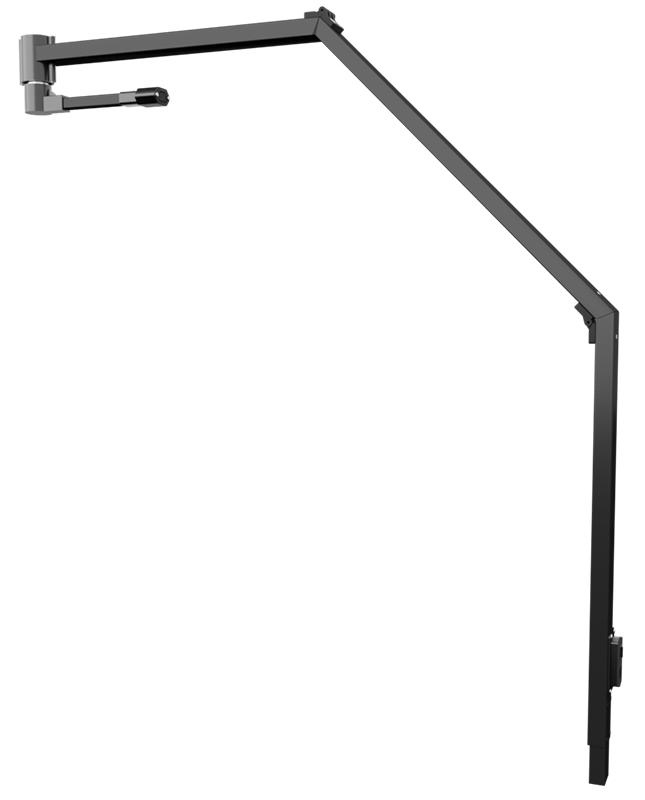
-
On the lower bend you need to add the bracket to secure it. Use the
P04bolts to secure the bracket as shown.
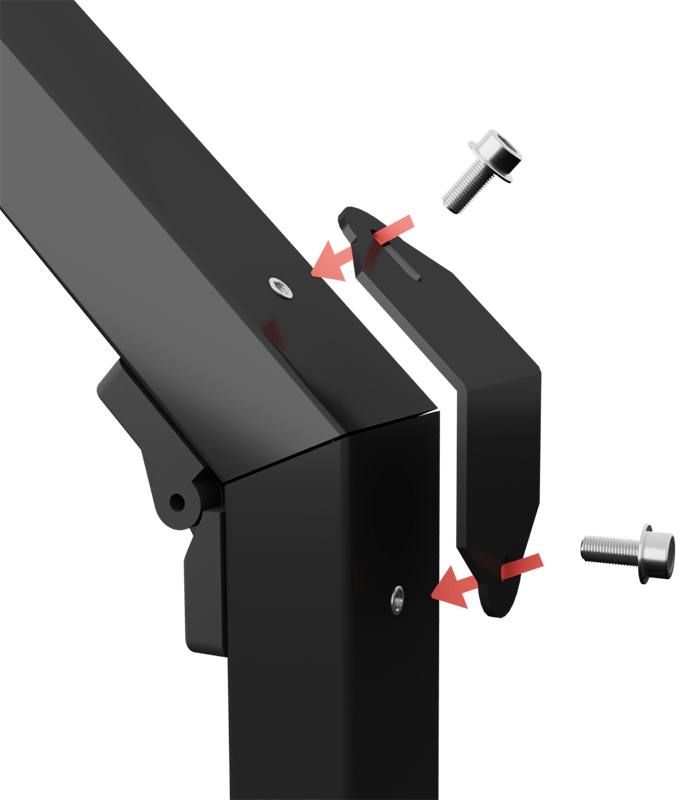
-
Slide the upper part together with the foot of the Boom and secure it with a
P02bolt.
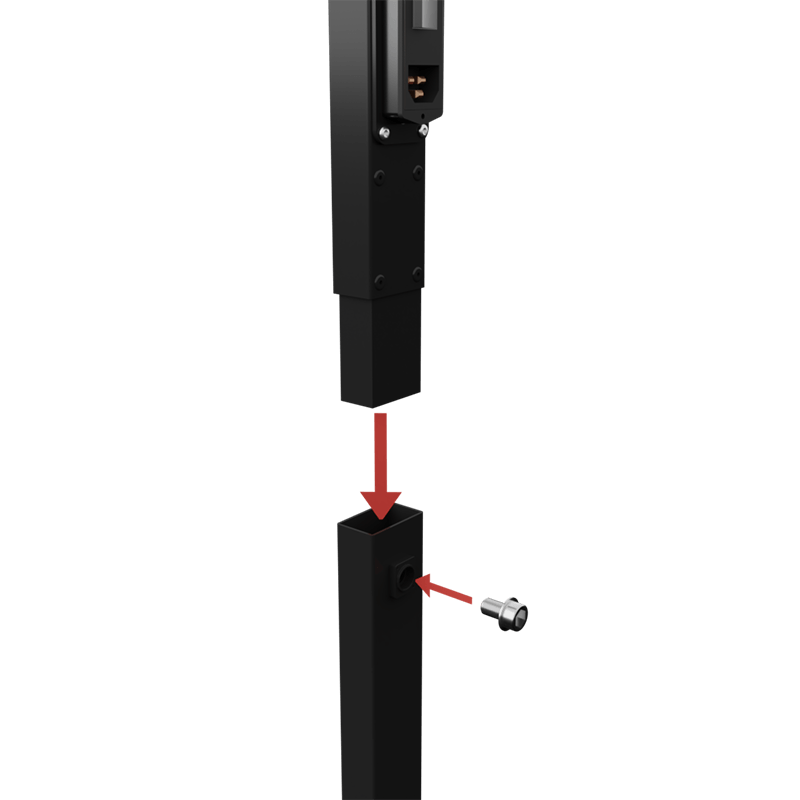
The Rotation Boom has now been assembled and you are ready to connect it to the simulator. Depending on the model you will either receive a power cord or a special power strip with an IEC connector.
To power all the accessories you will need to power them through the Rotation Boom too. You can attach the power strip where you prefer, we recommend under the seat. Just remember to keep all cables and accessories clear of the actuators and stabilizer.
